what material to make a bean bag out of
Kunynghame enjoys DIY projects, including painting, crafting, and refurbishing items.
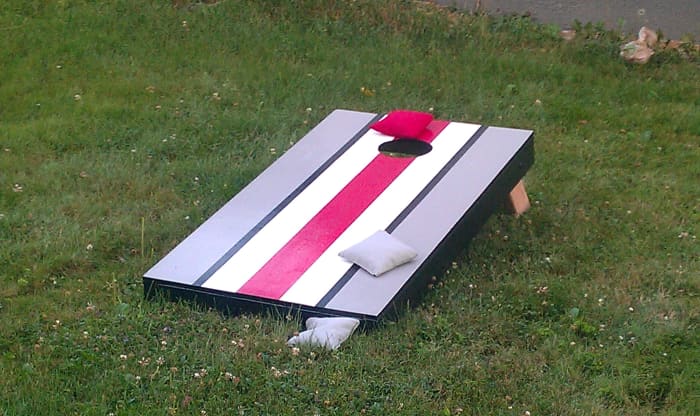
Essential component to the game of cornhole
How to Make Cornhole Bags
Learn how to make your ain cornhole bags (edible bean bags) at domicile to salve money. Here's a step-by-stride tutorial.
Step ane: Get the Supplies
Before you begin, take a trip and get all the needed supplies for your project. Here is your supply list:
- 2 different colors of duck material (xv" x 30"). Usually at a material store the cloth will come on a roll that is close to 15" wide, so this is usually an easy stride. Choose the two colors you desire your bags to exist. In the terminate, you lot will exist cut 8 squares of each color that are 7" 10 7". Duck cloth is a very durable cloth and will ensure that your numberless last a long, long time.
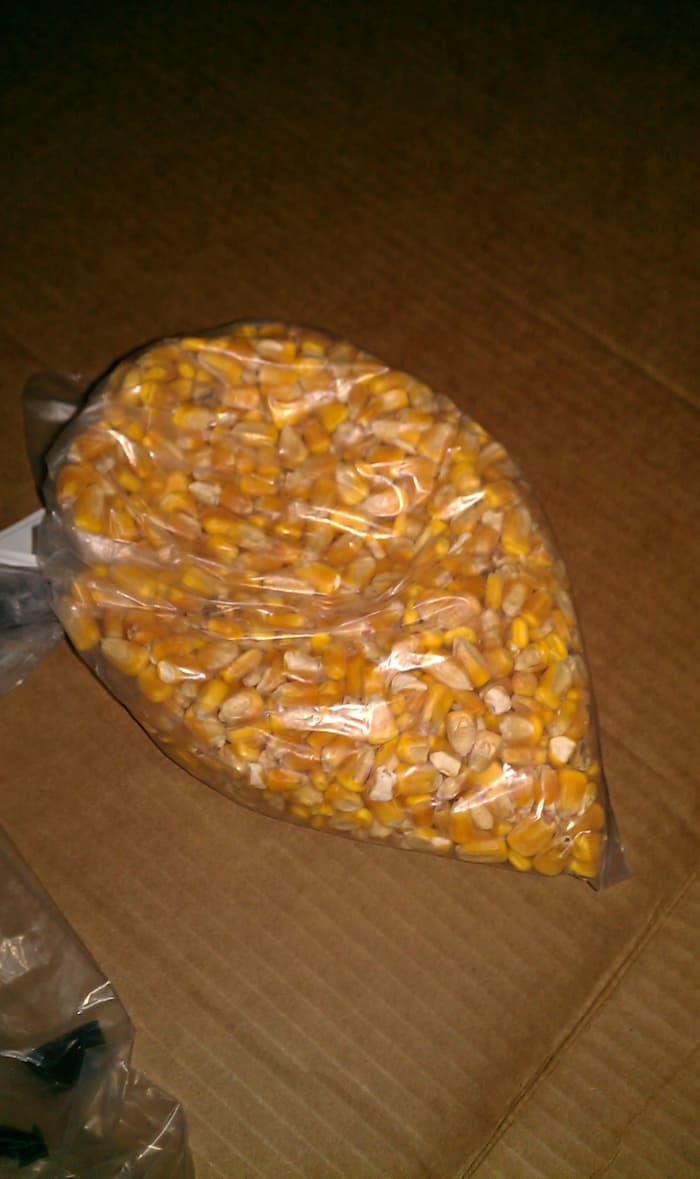
- Feed-grade corn. Each bag should counterbalance one lb. when it is completely finished. An piece of cake way to get the correct amount of corn is to get to a pet shop or feed store and simply measure out 16 portions of feed corn. They normally have a small calibration and plastic bags, so you tin can do it yourself in but a few minutes. I measured out about .9–.92 lbs per bag (accounting that the cloth of the bags will add some weight to the full). As long equally y'all are consistent from bag to pocketbook, y'all will be fine.
- Thread, needle, and liquid stitch. If you have a sewing car, the whole procedure will exist faster. If you don't accept a sewing machine, it might be worth borrowing one. You tin can definitely hand stitch though, it will just take a few more minutes to complete. Make sure y'all get heavy, duty thread then it is durable. I used a generic liquid fabric glue from the cloth store, and it worked just fine.
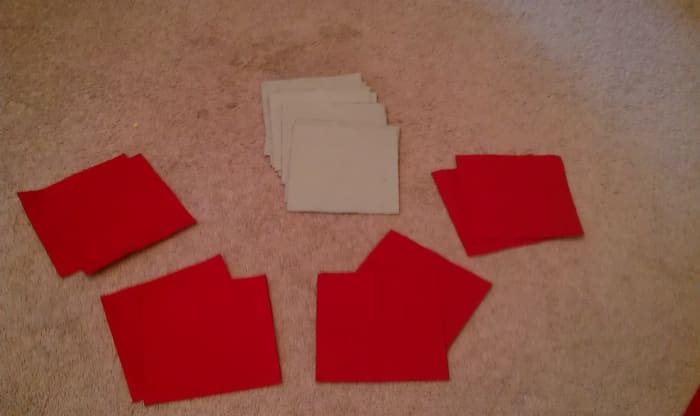
Cutting out eight squares of each colour of duck cloth.
Pace ii: Cut 7" x 7" Squares of Duck Cloth
The next pace is fairly piece of cake. You demand to have your pieces of duck cloth and cut them into squares. In the end, you will need viii squares of each color. So make sure you measure out your pieces before you start cutting, to make sure you have enough cloth for all 8.
Tip: Drawing on cloth is non the easiest task. Make yourself a sturdy stencil (paper-thin, construction paper, etc.) that yous tin can trace. Then make sure you are working on a flat, hard surface. But put the stencil on the cloth, trace it (I would trace out all 8 squares to make sure you have enough infinite). Cut out all the squares, then repeat with your second colour of material.
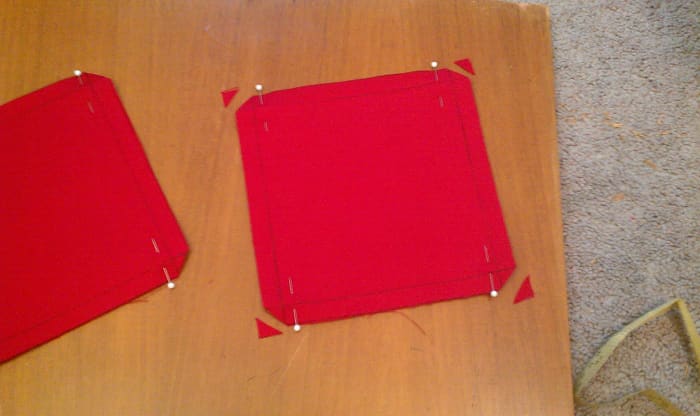
Ii pieces stitched together. Excess material on corners tin can be cut off.
Stride iii: Stitch and Mucilage 3 Sides
Take a piece of your material and mensurate in three/eight'' from every side. Mark a line all around that piece of textile. This will be your guide of where to run up. Place this "marked" cloth over another slice of textile. I used pins to help hold the cloth in place. Adjacent, you volition stitch along the lines that you lot marked. Y'all should, at minimum, use a double stitch, and if y'all are aggressive, a triple stitch. This will ensure that your bags volition never interruption open. You lot can use a sewing machine or sew together by paw. Either way is fine.
Important: You are only going to run up three sides at this phase. You must leave the other side open to put the corn in.
Scroll to Proceed
Read More From Feltmagnet
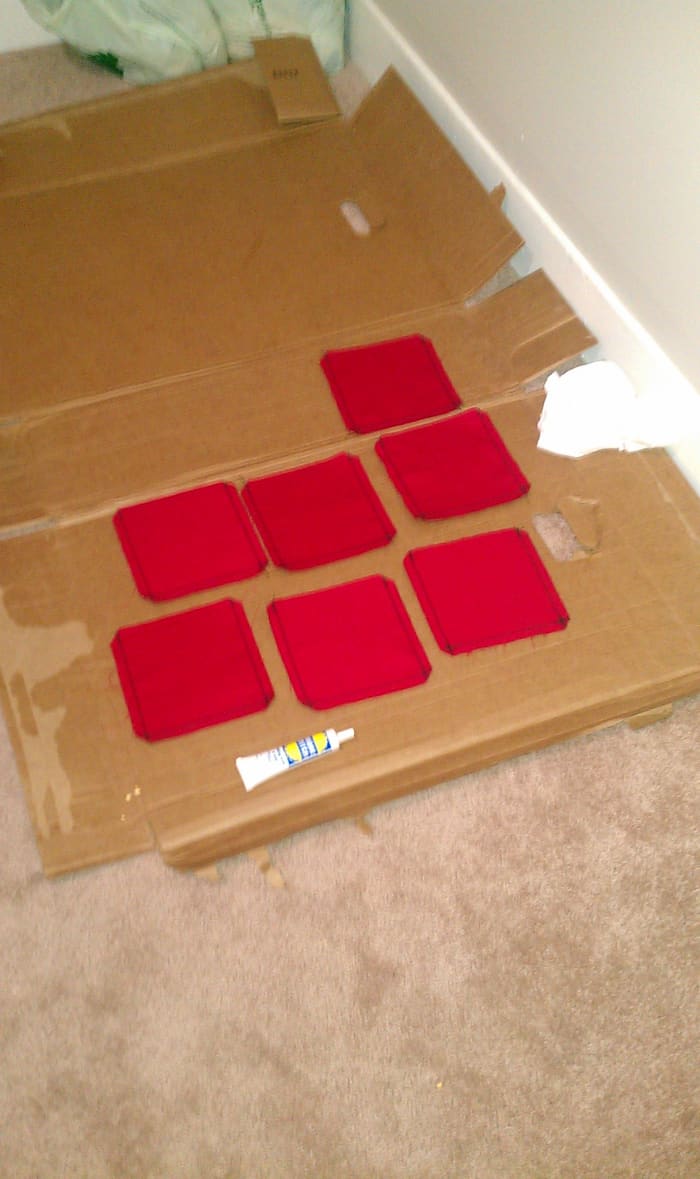
Once you have three sides stitched, use the material glue to strengthen up your work. A small-scale line of glue all the fashion around will do great (in one case once more, only on the three sides that y'all stitched). Permit the glue dry out. You tin cut off the excess material on the corners, this will make the next step easier when you flip the bags inside out.
Step four: Flip Bags Inside Out and Fill With Corn
Once the mucilage has dried, you need to flip the bags inside out. This will place the three seems yous just sewed to the inside. Take the portioned bags of corn and pour 1 bag of corn into each cloth bag. Every bit you have noticed, one time your numberless are inside out, they are no longer equally broad equally they once were. That is a good matter, because in the end, y'all desire your bags to be close to 6'' wide (the official pocketbook size for cornhole).
Step 5: Stitch the Concluding Side
This is definitely the most difficult part of the whole procedure. To make life easier, I would utilise pins to "pivot back" the corn that is in your bag and give you a little more room to work while stitching your last seam.
To brand this last side a piddling easier, I recommend folding the ends in (as close to 3/8" as possible) and gluing them first. This will make your bag into the square that it should be. Why this phase is a bit trickier is that y'all don't have a line to follow while stitching AND this side of the bag will exist four pieces of cloth thick as opposed to ii (which the other sides were). Many cheaper sewing machines volition not be able to sew through this thicker side, so you might exist required to stitch by mitt (as I had to).
After the glue dries, finish stitching this concluding and concluding side. This will be more difficult because the material is much thicker AND you are stitching through the glue. Make sure again to double or triple sew. Repeat with all your numberless until you take your iv bags of each color. They should be shut to 6" each. If they aren't exactly, don't worry (unless yous are hoping to be a professional cornholer someday). So get out and test them out!
Other Option
If all of this is besides much work or yous aren't patient enough to brand your own, there is ever the option of buying bags. I merely want to warn y'all that about bags you purchase will not exist as durable or "full" like the official cornhole bags should be. Just the chief goal is that you are having fun playing cornhole, so as long as you are happy with the bags, it doesn't affair.
Cornhole Sets
I made my own cornhole set, but if that is something you don't want to take the time or energy to do, you tin also buy them. This is definitely something you want to make sure is quality. I've seen too many friends buy cheap sets and they are cleaved and dysfunctional within a few weeks.
You can save coin ordinarily if you buy an "unfinished" ready. And this is fun, besides, because you can pigment and design it nonetheless you want.
How to Paint Your Cornhole Set
- DIY Paint Your Cornhole Boards
Put your creativity to good apply and make your cornhole set pleasing to the eyes. Painting your gear up besides protects the wood. Best role of it all, yous can do it yourself, and you tin add your personality to your work as y'all practise information technology.
Sewer on June 01, 2014:
I've seen some weatherproof numberless for auction. Information technology looks like the other departure is the filler. Information technology appears they used some sort of recycled plastic. Have you lot ever tried using plastic filler?
Source: https://feltmagnet.com/textiles-sewing/DIY-Make-your-own-bean-bags-or-cornhole-bags-at-home
0 Response to "what material to make a bean bag out of"
Post a Comment